Materials:
- Fabric
- Pins and pin cushion
- Sewing machine (You can find good ones at Walmart for $100. Saving money in the long run!)
- Zipper foot attachment for sewing machine
- Piping from craft store (Hobby Lobby). For a 24 inch pillow I got 3 yards.
- Measuring stick
Start by cutting out a perfect square for your pillows. If you are making 24x24 pillows, cut one inch less on each side (23x23).
Next cut 1.5 inch wide stripes of fabric that equals the circumference of your pillow (this is for the cording). Mine was roughly 100 inches long.
Begin by pinning the piping inside the stripes like pictured. Do this for all 3 yards of the fabric.
You then will use the zipper foot attachment on the sewing machine to sew right up against the piping for a tight stitch. Do not worry about being exactly because once sewn to the pillow you can't see mistakes (lifeeeeeee savvveeeerrrrr!)
Now you will pin the piping to the cut out squares. If there is a certain way the pillow sits up, start at what will be the bottom left with the piping. Place the fabric square's printed side facing each other inwardly, and the piping on the inside, with the seam running along the edge of the squares. See picture.
On the corners, cut the piping halfway through (up until the seam) so it can turn easier. Pin the piping in on every side.
When you get to the bottom of the pillow on the side you started, pin in the last corner then just pin the piping to one side of the fabric to leave a hole where you will stuff the pillow inside and hand sow the rest. See picture for visual.
Now begin sewing! Use that zipper foot attachment again to sew right on the edge of where the piping is.
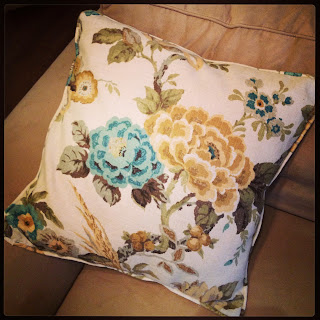
Here are my finished products so far!


.jpeg)

No comments:
Post a Comment