Pages

Monday, July 15, 2013

Monogram wall decor... How-to!

Over the last year, I've had a minor obsession with my new monogram....okay doesn't isn't right?! Every store I look for "s" and how I could incorporate them in my house. In this post, I made some wall decor that is both unique and rustic and OF COURSE is my new monogram. Needless to saw it was the perfect touch for my living room.


I'll start with the "s" on the left on barn wood. My in-laws live on a good amount of land and have an old barn on the land. They cut off a few peices for me from the inside and I painted an "s" on it. Simple enough right? Well yes but below is my method of painting the "s" which made it SO much easier. 

Start by putting down tape into the shape of the "s". I used painter's tape, but that isn't necessary. 


Next, I outlined the tape with paint to get the basic shape, and removed the tape. 


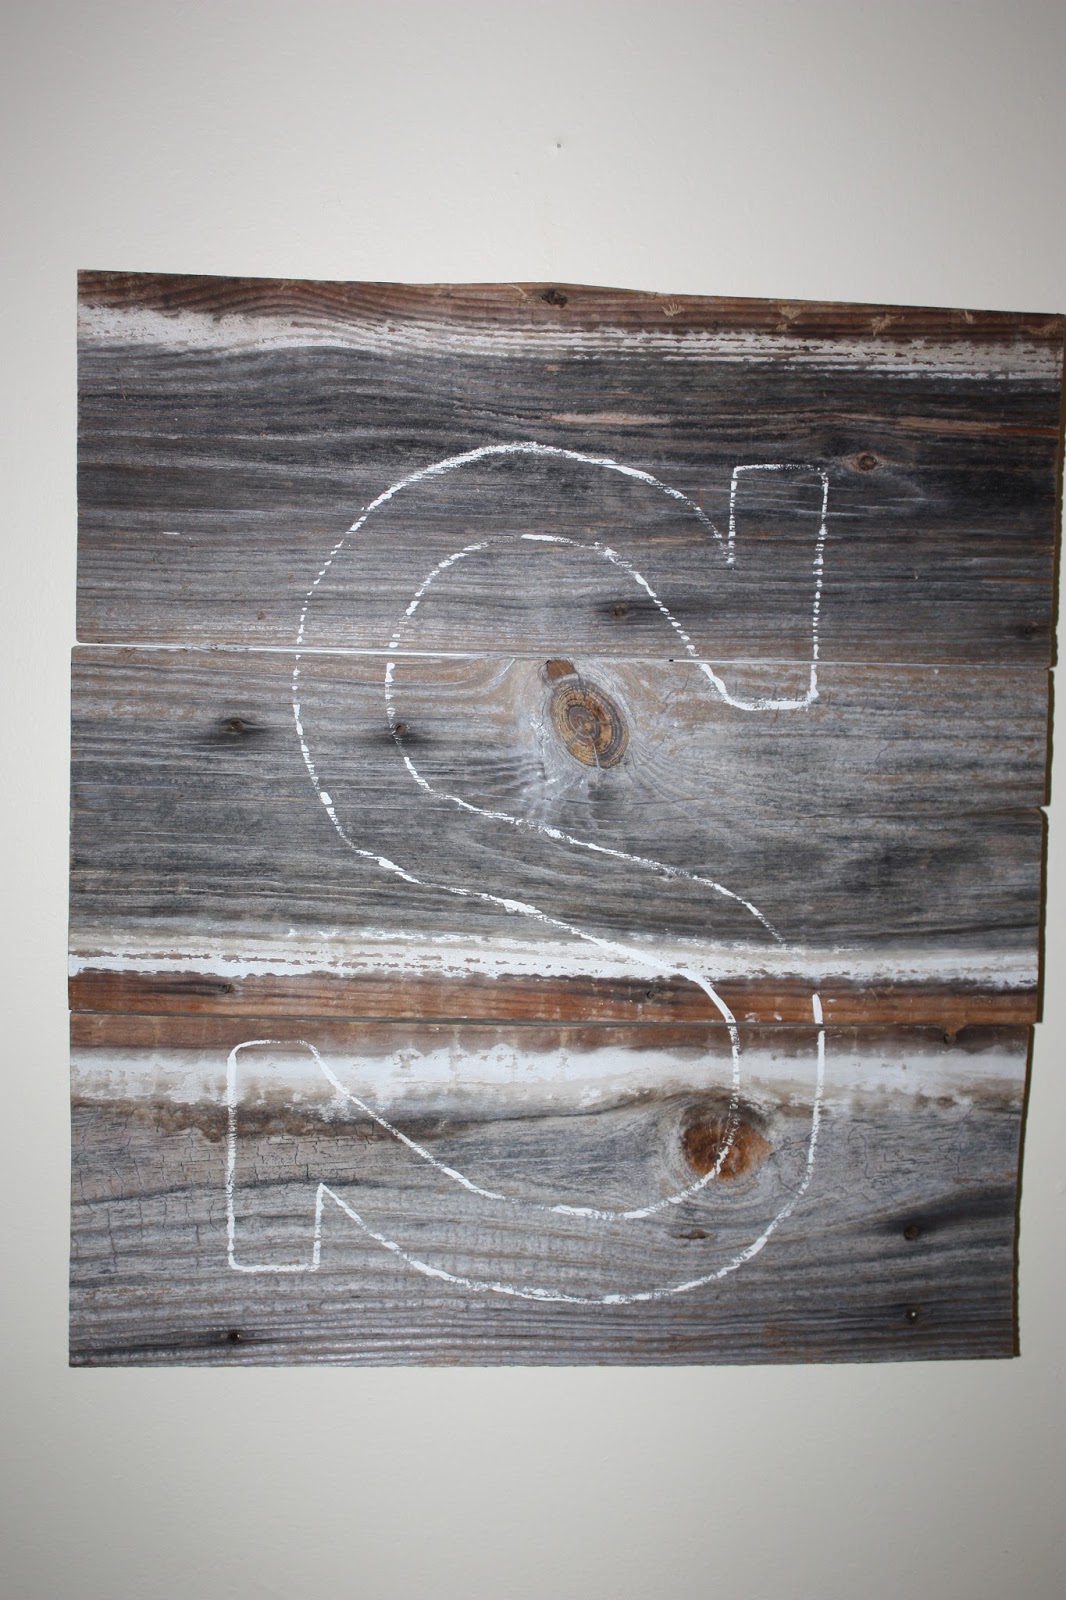
The last thing is the fill in the outlines with paint. I used a white paint, but many colors would have looked good. To make the wood sign, I screwed the three pieces together with a board running vertical. On that board, I also attached a wall hanger. 


The next piece, the one on the right in the first picture, is a wood frame from Hobby Lobby that I stapled gunned frame into. The wood monogram was purchased off Etsy and used in my wedding a year ago, which has sentimental value to me. 


Next I stapled the monogram to the fabric from the back side. It was THAT easy. But I think looks great! 


Hope this gives you inspiration to create your own wall decor, and make something that has some personal meaning to you! 

Happy DIYing!
Gretel

Patriotic wreath...How-to!

With the 4th of July just passing, I frantically realized I didn't have a flag up at my house. So, I made due with the materials I had in my house...and I think it was a wonderful attempt to be patriotic and original. See below for a how-to:


Materials:

  • Burlap
  • Red, blue and white paint
  • Paint brush
  • Spray paint clear varnish
  • Thicker molding wire
  • Burlap ribbon
  • Hot glue gun
  • Cotton stuffing
These are all materials I have in my house, hence why I made it.
  1. Cut the burlap out in a wavy shape 2 identical times, like as if the "flag" was flowing in the wind.  This is so that the burlap can be stuffed. Also, cut out 2 identical stars. 
  2. Paint the entire surface of the flowing flag white. You will only be painting the front side. Paint the entire surface of the star blue...again you are only painting one side blue. 
  3. For the flag, paint red swirls all over it...I added occasional red dots too. For the star, I painted white polka dots all over it.
  4. Hot glue 3 of the 4 sides together for the flag. For the star, hot glue all of the sides together except for one of the points...these left open areas are where you will stuff it.
  5. Stuff the flag and star with cotton until it has a shape. Do not overstuff.
  6. Glue the remaining side of the star and flag together.
  7. Next you hot glue the start to the top left corner of the flag.
  8. I cut the wire so that it could be the "hanger". When puncturing the burlap, I then molded the wire to curl on either side. 
  9. I added a burlap bow from ribbon at the top for looks...its not necessary.
  10. Lastly, I sprayed the front and back side of the flag and star with the clear spray paint varnish to keep it protected from rain and to harden the surface. 
Here is the finished product. God Bless America!!! Love my country!


Happy DIYing!
Gretel

Rustic Corner lamp...Transformation How-to!

In my last post I mentioned the finds my dad found for me at a yard sale. One of his finds were two lamps. Totally outdated and ugly but cheap! Here's what I did...

Corner lamp
  1. Painted the bottom a color I liked... I used chalk paint. With two coats and a coat of wax, I was good to go there.
  2. Next I stalked etsy for a cool metal cage to cover the bulb. I found the perfect cage at Store19
  3. I got a light bulb from Home Depot to complete the look. 


Just goes to show you, someone's trash is another's treasure. I've got the perfect corner reding light now! 

Happy DIYing!
Gretel 

Side table from a tv stand...How-to!


Yard saling and thrift store shopping are two of my favorite things. I even have my parents constantly looking for things I can paint and transform which is awesome. Nothing better than a phone call with my dad saying he found two lamps and a tv stand for me all for $10! Heck yeah!! In this post I'll show you a project that I made out of those items dad found. Super easy and like I said, $10. Who can beat that?!?

Side table
First item was a tv stand. When I saw this, I knew the top HAD TO GO or at least be recovered. I had bought some gingham fabric for another project and had just enough to recover it. I LOVED the wheels and cart underneath and didn't want to touch that. Here's what I did...
  1. Staple-gunned the fabric to the top. 
  2. Used upholstery tacs for the top edge to add some bling.


And done! It's edgy, southern, and unique! I'll tell you about the lamp in the next post. 

Happy DIYing folks!
Gretel


Sunday, July 14, 2013

Chalk paint obsession

Hello! HUGE apologies for my absence over this summer. No worries, I've been crafting daily, but my Instagram has been my DIY diary rather than here. My newest obsession (or one of them at least) has been chalk painting. I took a class to learn techniques and about how you can use the paint... Which by the way you can literally paint anything with chalk paint. Your rug?? Yes. Your drapes, yes! Your lamp shades? YES! So needless to say I am converted and have slowly been painting everything!!! Below are some of the latest projects

Before
After

Before
After

Complete dining room chair set

Before
After
The chairs were my first babies, and after seeing their transformation I had to keep painting. I highly encourage everyone to look into the paint. It's ease of use is what makes it soo attractive. Below are the basic steps in case you're interested and there are tons of tutorials on YouTube, too!
  1. Do not sand the furniture. Simply dust or clean it.
  2. No primer needed. Paint your first coat covering the surface thoroughly. If you want to be able the distress the furniture so that one color shows through when you sand, you will need to paint two coats of the base coat in the first color and another coat of the second color on top. 
  3. Once you have fully covered the surface in 2 coats ( 3 coats total if using 2 colors), lightly sand the entire surface with 320 grit sandpaper (stop when the surface is smooth). For a distressed look, start by rubbing the corners until the wood or first color show through. Remember, LESS IS MORE HERE! Once the edges are distressed, sand away one or two bigger areas on the entire pieces. For example, on the dresser I distressed, I have one larger area on the drawers and then one on the side. Try to distress where you think will naturally distress with time.
  4. The last step is to wax the nature piece. I highly recommend Annie Sloan clear wax. Once applied, remove with an old t-shirt (NO PAPER TOWELS!) 
  5. Let the piece dry for 48 solid hours before placing items on top of it! 
Hope these steps help you get started. I've transformed some pretty ugly pieces into pretty pieces all with the paint... And you can too!! 

Happy DIYing!
Gretel